The process of downloading a Digital Elevation Model (DEM) data from the Shuttle Radar Topography Mission (SRTM) using QGIS involves a few but straightforward steps. QGIS is a powerful open-source Geographic Information System (GIS) software that can connect to various online repositories to download DEM data. QGIS enables users to create, edit, visualize, analyze, and publish geospatial information. QGIS supports a wide range of file formats and functionalities, making it a versatile tool for geographic data management and spatial analysis.
Key Features of QGIS Software
-
User-Friendly Interface: QGIS offers an intuitive graphical user interface (GUI) that is easy to navigate for both beginners and advanced users.
- Data Support: QGIS supports numerous file formats, including shapefiles, GeoTIFFs, and databases like PostgreSQL/PostGIS, making it highly versatile.
- Vector and Raster Data: QGIS can handle both vector (points, lines, polygons) and raster (gridded) data, allowing for comprehensive spatial analysis.
- Plugins: QGIS has a vast repository of plugins that extend its core functionality. These plugins can be used for tasks such as georeferencing, GPS data processing, web mapping, and more.
- Customization: Users can customize the QGIS interface and create their own plugins using either Python or C++.
- Spatial Analysis Tools: QGIS provides tools for spatial analysis, including buffer, intersection, union, and spatial statistics tools.
- Cartographic Output: QGIS includes robust cartographic tools for creating high-quality maps. Users can style layers, create thematic maps, and use print layouts to produce professional map outputs.
- Geoprocessing: The QGIS integrates with the GDAL, OGR, and GRASS GIS libraries, allowing for many complex geoprocessing tasks and workflows.
- Coordinate Reference Systems: QGIS supports a wide array of coordinate reference systems (CRS) and can reproject data on-the-fly.
-
Community and Support: As an open-source project, QGIS benefits from a large and active community. There are extensive online resources, including tutorials, forums, and documentation.
Steps of Downloading SRTM DEM Using QGIS
Step 1: Install QGIS:
- If you haven’t already installed QGIS, download and install it from the QGIS official website.
Step 2: Open QGIS:
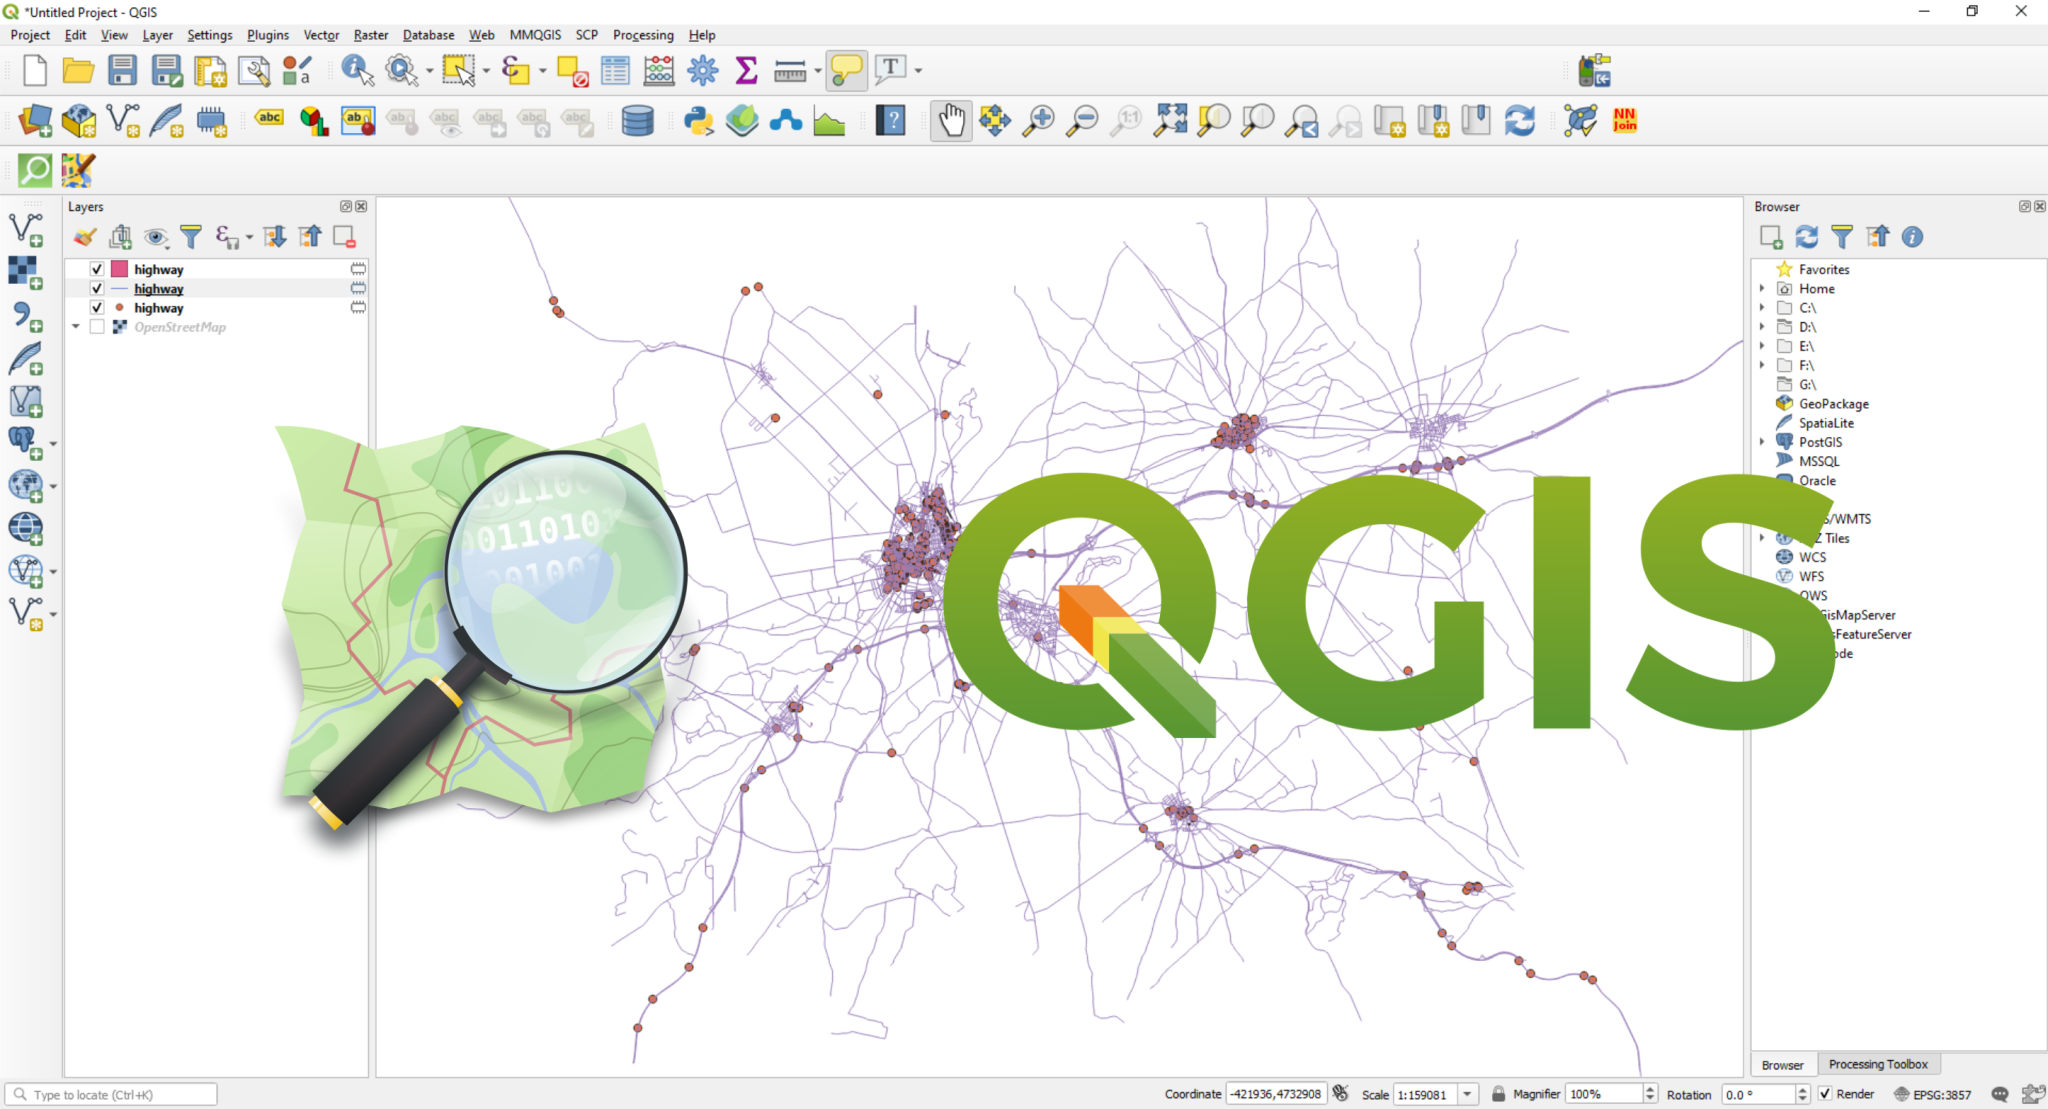
- After the installation, launch the QGIS to load its user interface.
Step 3: Add the SRTM DEM Layer:
- Go to the “Layer” menu.
- Select “Add Layer” -> “Add Raster Layer” to open the data source manager.
Step 4: Download DEM Data Using the SRTM Downloader Plugin:
- Install the SRTM Downloader plugin if it’s not already installed.
- Go to the “Plugins” menu and select “Manage and Install Plugins…“.
- Search for “SRTM Downloader” and install it.
Step 5: Using the SRTM Downloader Plugin:
- Once the plugin is installed, you can access it from the “Plugins” menu -> “SRTM Downloader”.
- In the SRTM Downloader window, specify your Area of Interest (AOI) (You can draw a rectangle directly on the map or enter coordinates manually).
- Select the SRTM version you need (typically SRTM 1 Arc-Second Global for finer resolution or SRTM 3 Arc-Second Global for coarser resolution).
- Choose the format for the download (GeoTIFF is commonly used). Then click the “Download” button to start the process.
Step 6: Add the Downloaded DEM to QGIS:
- Once the download is complete, add the downloaded DEM to your QGIS project.
- Go to “Layer” -> “Add Layer” -> “Add Raster Layer“.
- Browse to the location where the DEM file was saved and select it.
Step 7: Visualize and Use the DEM:
- The downloaded DEM layer will be added to your QGIS project.
- You can use the QGIS tools to visualize and analyze the DEM.
- You can now analyze, and manipulate the DEM data using various QGIS tools and functionalities.

Also refer to the detailed documention found here >>> Downloading DEM from SRTM Portal
Using Python (Optional)
If you prefer to use Python for downloading SRTM data, you can use the elevation or pyproj library. Here’s a simple example using elevation:
Install the Elevation Library:
- pip install elevation
Download SRTM Data:
import elevation
# Set the bounds (min_lon, min_lat, max_lon, max_lat) An example is given below:
bounds = (-123.1, 49.2, -122.9, 49.3)
# Configure the output file
elevation.clip(bounds=bounds, output=’output.tif’)
# Clean up temporary files
elevation.cleanup()
This script downloads SRTM data for the specified bounding box and saves it as a GeoTIFF file.
Ad: Explore the world with Expedia

Flewflew: AI solutions provider in Africa

OrbiCollect: Mobile mapping made easier!

NSE Stock Market: Buy & Sell Shares